Pages

Showing posts with label Jalie 2908. Show all posts

Tuesday, November 17, 2015

Jalie 2682: V neck top...another winner!

My love for Jalie patterns continues.  This time I made Jalie 2682, the V neck top.  

Jalie 2682

This pattern was voted a "Best Pattern of 2007" and for 2008 on Pattern Review.  I agree, the pattern is very good.  The best part about is the clever construction of the front bodice.  I made the version without the zipper.  2 front bodices are cut on the fold.  They are then sewn right sides together from a pattern mark to the bottom of the bodice.  The 2 pieces are folded in half with the seam at the center forming the seam below the V.  One piece becomes the left side of the bodice, and the other is the right.  Here is the link for the instructions.  This method creates a fully lined front bodice and the neckline edge is the folded edge of the bodice piece so no finishing is needed!!  

Here is my version.  I used a springy textured knit purchased from the Vogue Fabric booth at the Original Sewing & Quilt Expo in Fredericksburg, VA.  I searched for the same fabric on their website, but didn't find anything close to it.  

After seeing this photo, I describe the expression on my face as my "Erica Bunker" face.  She always seems to wear the same expression in her photos.  This is a good example.  What do you think?


Here is a Meigan face:

I adjusted the pattern to make the shoulders and upper back narrower, which is a normal adjustment for me.  I should have made it even narrower as you can see from the back view.  The sleeves are very long on Jalie patterns which is nice for a long sleeve winter top.


Here is a closeup of the fabulous neckline:


Side view: the seaming on this top made a swayback adjustment very easy!


As a side note, the gray pants I am wearing are my non-stretch organic cotton/hemp Jalie 2908 jeans, blogged here.

Friday, March 13, 2015

Jeans! With Rivets!

Pattern Review is currently holding a Jeans contest.  I love making jeans so I knew I would make a new pair to enter in the contest.  The contest requests detail photos of rivets, topstitching, etc., so this was an excellent chance to add rivets to my jeans!

I used Jalie 2908 again.  I have been tempted by the Ginger Jeans pattern, but it really doesn't seem that different from the Jalie pattern, so I haven't purchased it.  No need to spend money on another pattern when I just spent some on...a new sewing machine!!  That's right, I have upgraded my 17 year old Singer to a new Pfaff Expression 3.5!  Woo Hoo!
Pfaff Expression 3.5
Once I play with it some more, I'll write up a review, but for now I'll say this: it's so quiet and wow do I love the thread cutter feature!

Back to the jeans.  I used a black and tan stretch denim from Fabric Mart.  I think there is 2% lycra, but it's no longer listed on their website, so I can't be positive.  

I successfully installed rivets.  It took a few trials and a trip to the hardware store but I did it!  I bought my rivets from TaylorTailor.  I initially tried to use small scraps of denim as spacers for the rivets as described in this tutorial, but it didn't work for me; there were way too many layers of spacers needed. Instead I used wire cutters like this pair, to nip off the top of the rivet to just above the fabric.  I tried to use a piece of wood underneath the rivet while hammering it on, and it was not hard enough.  The wood dented before the rivet cap attached.  I went to the hardware store in search of a smooth metal plate I could use as an anvil while pounding on my rivets.  Success!  I am thankful that my locally owned hardware store staff is friendly, helpful, and doesn't look at me like I'm crazy when I ask for a "small piece of steel I can use as anvil when pounding on things." :)

Here are my beautiful antique nickel rivets:
  
The rivets really add a professional touch to the jeans.  All of my jeans from now on will have rivets!

Another thing I did differently was to make a pocket stay.  I used Closet Case File's tutorial and some cotton from the stash:

While I wouldn't describe the effect of the pocket stay as a "tummy tamer" I do like the fact that the pockets always stay in place.  That alone is worth it. :)

As far as fit and construction, I did my usual adjustments:  cut a size AA, used a curvier back yoke, straighter leg (slight flare), and since the denim was stretchy, I cut the waistband on-grain and did not interface.  To prevent the back yoke from stretching out while wearing, I added 1/4" wide twill tape to the top of the yoke before attaching the waistband.  I really really hate it when pants gap in the back, so this eliminates the possibility.  Any stretch that needs to take place around my middle can happen along the front, where my extra fluff is. 
adding twill tape to back yoke
In the past, I haven't been very daring when it comes to back pocket design, but now things have changed!  I took advantage of some of the decorative stitches on my new machine and added some interest to the back pockets:

I used top-stitching thread (Gutermann Mara 30) and let the machine do the rest!  

Here are the back views:


So there you go, another successful pair of jeans!

Monday, December 29, 2014

Sewing for kids

I managed to do a bit of sewing for my girls this Christmas.  First up is a blue corduroy skirt that I made using Jalie 2908 (yes, the jeans pattern) for a starting point.  I wanted to replace a denim skirt that she had loved to death, and I could not find a fly front denim-type skirt pattern.  This was my result:


I used gray topstitching thread for all of the topstitching. The pockets and fly shield were made from light blue poly crepe.


I made the length of the skirt a few inches below the knee and added a kick pleat to the back. 


Altering my pattern from jeans to a skirt was very straightforward.  I angled out from the widest point of the hip creating a flare for the front and back.  For the center front and back seams, I drew a straight line extending the center front at the fly, and center back at the widest part of the hip, down to my new hemline.  The only change I made was rotating the lower edge of back pockets outward toward the side seam.  As located per the pattern the pockets were a little odd looking and too parallel to the center back seam:


After rotating them outward...much better:


Next up for my Christmas sewing was a Jalie 2566 cardigan made with an argyle interlock knit.


My buttons were small pink hearts.  I thought I should use them while my daughter is still young enough to think they are cute.  She really likes this top.  I think the band lays strangely at the top button.  My version of this cardigan has this same issue, perhaps it is a pattern issue rather than an operator issue.  Much to my surprise, this pattern seems to be OOP.


Next up are 2 long sleeve versions of McCalls 6787 for my youngest.  The first one is made from a printed cotton jersey from Spandexworld.com.


The second version used a rayon knit for the top and a quilting cotton for the skirt.  I think it came out adorable:


That's it for my Christmas sewing.  It was a big success.  :)

Happy New Year everyone!   

Saturday, September 27, 2014

I love making jeans! Jalie 2908 #6!

Of all of the things I sew, I love jeans the most!  I know that every time I reach for a pair of me-made jeans, they will fit, they won't be too long, they won't stretch out over the course of the day and (I'll say it again) they fit!!!

Here is my 6th pair of Jalie 2908:


I bought the fabric last August from Harts Fabric.  It was the first and only time I saw a fabric on someone else's blog and absolutely HAD to buy some.  Katie over at The Creative Counselor, made a pair of Jedidiah Pants for her husband using this fabric.  It is a recycled hemp and organic cotton blend (found here) and I fell for it hard! 

There is no horizontal stretch in the fabric so I knew I needed to give myself more room through the hip and thigh.  I added 1/2" to the sides of the front and back pattern pieces.  Other than that, no changes other than the ones I have done in the past. 

Here are my previous pairs:


And the links:

1st version: dark denim 3% lycra
2nd: brown denim 0% lycra
3rd: medium denim 2% lycra (I strangely have no photos of these)
4th: beige denim 2% lycra (my favorites!!)
5th: Red stretch twill shorts

Friday, June 27, 2014

My Red Threads

For some inexplicable reason I have been sewing a lot of red garments lately.  Remember my Polka dot tankini?  Red.  Back in May I whipped out a pair of red twill Jalie 2908 shorts.  I know...Jalie 2908 is the jeans pattern that I have made 4 times already.  Well, the shorts make it 5 times.  Since making them, I have lost a little weight and they are now loose.  I will continue to wear them and bask in my weight loss.  :)


For Father's Day, I made my husband 2 new Hawaiian shirts (to be blogged about sometime in the future).  When ordering his fabric from Hawaiianfabric.com I ordered myself some fabric too with the intention of making myself a Hawaiian shirt.  Last week's swim meet had a "Red" theme, so I took that opportunity to sew up my Red Hawaiian Shirt.


Big thanks to my 7yo photographer!


 I used New Look 6197 which has both a men's and a woman's version of the classic Hawaiian (aka casual) shirt. 


The woman's version has a shirt-tail hem and bust darts.  I made a size 14 which had a finished bust measurement of 43" and did a 1" FBA. Thank goodness I did...it would have been too tight otherwise.   I learned my lesson from this top:  remember to ignore the ease across the back when considering whether or not it will fit over your chest.

My major complaint was that there was too much ease at the sleeve cap.  I could tell right from the pattern piece and followed this tutorial to remove the excess.    Unfortunately I chickened out and didn't remove the entire 1" of extra ease, so I wound up having to do the basting stitches and ease the sleeve into the armhole.  I will be brave and bold next time and remove it all :)  FYI: The men's version doesn't have nearly that much ease.

My final observation: shirt-tail hems are not the easiest thing to hem.  Seriously.  I'm going to straighten it out next time.

So while there is still some red fabric in my stash, next up is blue...Stay tuned :)
 

Tuesday, April 1, 2014

I only made one thing in March, but I made it well!

I made another pair of Jalie 2908 jeans and this pair is even better than the previous 3 pairs!  What did I do differently?  Not much.  I curved the back yoke even more which eliminated the need to take darts in it after it was assembled.  So I have finally perfected my yoke piece.  YAY!

So here they are, made in a beige denim with 2% lycra.


 The pockets are a cute purple floral cotton which coordinate perfectly.  I love them!


The other thing I did was make the pants longer than my other versions.  My other pairs have shrunk a little lengthwise and are now just a tiny bit too short to wear with my favorite shoes.  I am (foolishly) self conscious about the too short jeans so I wanted to make this pair extra long to account for any future shrinkage.  Of course, now I can only wear this pair with heels...

I love making jeans.  I wear them all the time and they are comfortable.  I don't even wear any of my RTW jeans anymore.  The fit of the RTW doesn't even compare to these.  If you're thinking of making jeans for yourself (and you really should) I definitely recommend 2% or 3% lycra in the denim for maximum comfort.  


Saturday, November 9, 2013

Jalie 2908 Jeans...The Encore!

Jeans!  The second version of Jalie 2908 is done!  This time I used brown denim with no stretch.


There were a few changes/tweaks from my first pair that I made to this version.  Keep in mind that my first pair had 3% lycra and this pair has 0%.  The back yoke as drafted gaped like crazy on the first pair and I wound up taking 2 darts in it after it was stitched (and top-stitched) to the back. I redrafted the yoke making it shorter, narrower and having more curvature.  The revised yoke was much better than the original, which is good news.  There are still some weird wrinkles in it, as you can see above, which don't bother me too much.  The bad news is that I made the yoke too narrow (vertically) which shortened the back crotch length too much and the waistband pulls down when I sit.  Aaack!!  

Since there was no stretch in the fabric, I cut the waistband on the bias as the pattern states.  I will NOT do this again!!  The waistband gaped even though the yoke didn't.  Aack!  I'm pulling on the waistband in this photo, so it's not nearly so extreme in real life, but still...
Waistband gap
Rather than suffering with a gapping waistband,  I thought "Hey--you made these, you can make them better!"  So I pulled out my seam ripper and some elastic and got to work.

I undid the top-stitching on the outside of the 2nd set of belt loops on the back as seen here:


 I threaded the elastic through the waistband and sewed one end directly under the belt loops so that the belt loops would hide my stitching.  So sneaky!!  My thread was a pretty perfect match so it wouldn't be seen in any case, but it's always good to be sneaky anyway.  :)


Then I pulled the elastic in to close up the gaposis, pinned the elastic in place and sewed the other end right under the belt loop.  So this is how they look now:

Elastic inserted
The gap is gone!  Yay!  But the waistband still pulls down when I sit...Boo!  So I will re-re-draft the yoke keeping the full height at the center back.

In case you were wondering about my back pockets, I used a gadget I have owned for a while but have never used before now.  It's a tracing wheel with transfer paper.  I drew my pocket design on tracing paper and outlined the pocket itself.  Then I traced the pattern onto the pattern piece onto one pocket.  Then I flipped the tracing paper over, and traced the mirrored pattern onto the other pocket.  For this pair, my top-stitching tread was such a perfect match for the fabric, it was hard to see the top-stitching.  After a little online ordering 'oops', I bought the Gutermann 700 thread color chart from wawak.com, so that I could perfectly match my thread.  So for this pocket design, I did one line with a very narrow zig-zag stitch with a short stitch length and the other (upper) line, I did 2 rows of straight stitching side by side.

On my first version, there was too much fabric between the waist and the high hip which created wrinkles.  I took a small wedge out of the pattern which took care of those wrinkles beautifully!  


So what have I learned based on these 2 versions of jeans made with 2 very different fabrics?  

  1. I love making jeans
  2. I love wearing jeans that I have made
  3. What fits perfectly with 3% stretch will be too tight with 0%  (I had to release the lower thigh above my knee on the 2nd pair, giving myself about 1/4"-3/8" more room there)
  4. I will NOT cut the waistband on the bias ever again.
  5. I need a little bit of stretch in my denim: no stretch is not enough. 
  6. I will be making a 3rd version very soon
Oh yeah...in that photo on the right...I made that ivory Refrew too.  It needs some tweaks (too wide across the upper chest), but I needed a quick fix.

Today is also the last day of voting for the Pattern Review Lined Jacket Contest.  Go Vote!!

Friday, November 1, 2013

Jeans! Glorious Jeans!

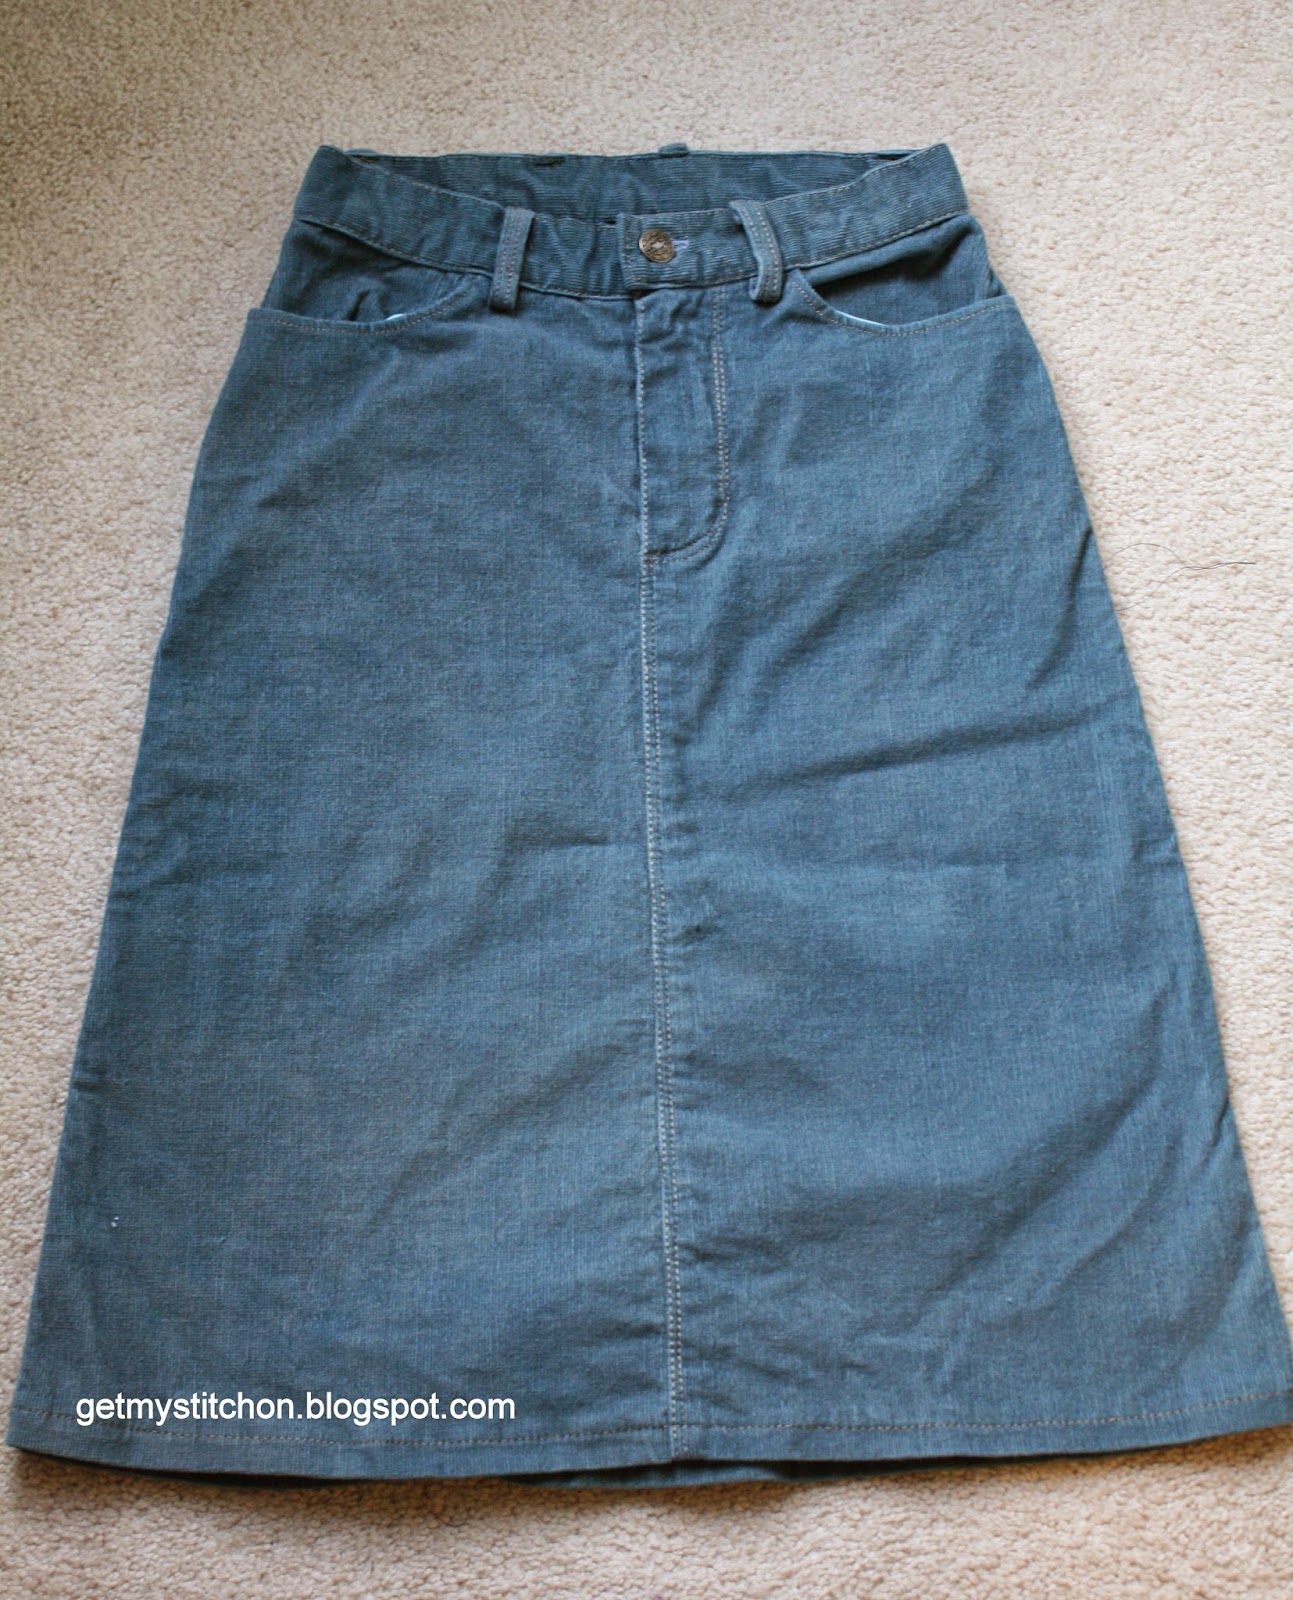
Remember these photos?


I know you were supposed to be checking out the jacket, but there is something else to check out.  Wait!  Are...are those Handmade Jeans??  Why yes! Yes they are!!  Ha ha!  I snuck them in right under your noses!  :)  Oh Meigan, you are a sly one!  Yeah, I know.  I planned on everyone being distracted by my sweet brown jacket to notice them. 

So here are some non-distracting photos of the first pair of my handmade-by-me jeans!!
 

Back views:


Overall, I am thrilled with these jeans.  Yes, they need a few tweaks, but honestly, they fit much better than any RTW pair that I own.  Boo-yah! 

The details:  I made the normal rise version of the jeans.  I usually find that low rise jeans stretch and then fall down, which forces me to wear a belt and I dislike wearing belts with jeans. 

I trimmed down the leg flare to half of the original flare.  I drew straight lines on the pattern from the knee to the hem and then folded the flared portion over to meet the straight line.  Voila!  Half of the original flare.  I have short legs, and I feel that widely flared pants make my legs look stumpy, whereas a little bit of flare adds balance to my hip width.  (How many times can I use the word "flare" in one paragraph? Seven.)

I traced size AA and added about 1/4" to the sides of the hip because the widest part of my hip is lower than the pattern's.  I shortened the legs 3" centered at the knee, because like I said, I have short legs. 

I used stretch denim with 3% lycra that I bought from Denver Fabrics.  The pattern recommends 4% lycra or a 20% stretch cross-grain.  The 3% was more than enough.  In fact, I think it was too stretchy and will use denim with even less stretch in the future.  When I had the jeans all assembled the back yoke was gapping like crazy.  My 2 muslins didn't gap so I have to blame the stretchiness of the fabric.  I took 2 darts in the yoke starting right above the topstitching going up to the waist.  One issue with jeans is that a tremendous amount of topstitching has to be done prior to assembling the jeans, so it's a little late to do some fixes.  If the topstitching hadn't already been done I would have been able to take a tuck from top to bottom through the entire width of the yoke.  As a result, the bottom of the yoke is a little too long and looks a little wavy.

Speaking of top-stitching, I used Gutermann Mara 30 top-stitch thread in color #886.  I have recently started to buy my thread and zippers from Wawak.com and they are GREAT, I highly recommend them.

In the spirit of knowledge and education I will go through the picky tweaks I will do when I make these jeans up next.  First up is the back:


You can see the waviness of the back yoke along the top-stitching line.  I will make the yoke both shorter (side to side) and slightly narrower (from top to bottom), since I can pinch out fabric both a horizontally and vertically.

In the photo above, I am pinching out some fabric under the butt, so we'll pinch that out on the pattern piece as well.

Also, I will serge the raw edge of the belt loops before top-stitching them.  This is how they look after being washed and dried.  (I warned you that I was going to be picky!)

Now for the front:
 
 
You can see wrinkles between my waist and hip.  There is too much length here and I will take a 3/4" wedge out of the pattern to hopefully fix that. 

The waistband is a smidge tight when I sit.  Since the denim had so much stretch I didn't cut it on the bias as the pattern suggests but cut it on the grain instead, and I interfaced it.  After assembling the jeans and seeing the gapping yoke and noticing how stretchy it was, I took action (it was probably too much action).  I really hate when jeans fit great right out of the drier and then stretch as they are worn and then fall down.  So...I added a line of twill tape (at the back only) along the bottom of the waistband so it could not stretch out.  Well...I wish it could stretch a little bit. 

Those are my tweaks for Jeans #2.  My next pair is already cut out.  This time I am swinging the lycra pendulum the other way and using denim with no stretch!  Apart from the back yoke tweaks, I am only making length adjustments, and hoping for an even more perfect pair.  :)


Related Posts Plugin for WordPress, Blogger...