I was in my (parked) car when I read the email from Pattern Review revealing the challenge for round #2: Make a Bias Garment. I didn't cheer, I didn't groan, my reaction was more of a "Hmmm..." Since I was already in the car out and about, I headed over to Joanns to peruse the pattern catalogs. McCall's patterns were on sale that day and I was hoping to find one of their patterns that would be interesting and which would work. Nope. Simplicity/Butterick/Vogue? Nope, nope nope. I did find a New Look pattern, for a slinky dress, but when I pulled the envelope out of the drawer it said it was a juniors pattern!! Nope. Deflated, I realized I would never wear a slinky bias dress, so it was better that I not waste my time.


Then I went where I had never gone before...to Burda. Right away I knew I would be able to find something that would work. Their patterns were interesting and different. There were different styles and interesting seamlines. I know there are a number of sewists/bloggers out there who love Burda, but I've never had a need. I do own 4 Burda Style Magazines but have never made anything out of them. I found 2 great patterns for bias skirts, but the one that won out was Burda 6572.
I meandered through Joann's and found what they called brushed cotton windowpane plaid in black and red. It was perfect! I love black and red together, it would look great on the bias, and it would be much easier to match than a more complex plaid.

There is really interesting seaming on this skirt. The front and back are on the bias, the back yoke is on grain, there is a front yoke and pocket that look different altogether. The top of the pocket lines up exactly with the back yoke and I wanted to highlight that cool continuous looking line using dark red piping.

The red piping looks like it is continuous around the side and back of the skirt. It also provides a visual break between the skirt back, which is cut on the bias, and the back yoke, which is not. I was very concerned about the thickness of the piping at the CB seam and invisible zipper. Invisible zippers don't like bulk, so I discovered a clever idea to keep my piping but to make my zipper happy. I was able to slide the cord (inside the piping) out of the covering and cut 5/8" of it off. I then slid the cord back inside the covering and voila! no bulky cord at the seamline! I did this on the side seams as well.

The hardest part about making this skirt was dealing with the bias, both in layout/cutting, and sewing so that the seams didn't stretch out.
#1: Cutting out the pattern pieces and making sure the plaid was on the grain lines. The flannel was very pliable and would shift easily off grain. On my pattern pieces for the front and back, I drew extra grainlines that would line up with the windowpane pattern on the fabric. Starting in the center of the pattern piece, I folded the pattern, placed it on the fabric aligning my grainlines with the red lines in the fabric and pinned in it place. Working from the center outward, I continued folding the pattern, aligning the fabric, and pinning it in place. It was tedious and time consuming, but to me (and my perfectionist tendencies) it was necessary.

#2: Making sure seams didn't stretch out or skew before sewing. In order to prevent the curved seam line around the front yoke/pocket from stretching out or shifting while sewing, I used small strips of fusible interfacing along the concave curve on the front skirt piece. I was worried that manipulating the fabric and sewing this curve would stretch out the fabric and make my seams pucker. I also hand basted the pocket/front yoke to the skirt front, then machine basted, and then did a final stitch to make sure the curves laid flat. I also used strips of fusible interfacing at the center back where the zipper was installed to stabilize the seam prior to sewing in the zipper. At the center front, where the bias front piece is sewn to the inner facing, I sewed a strip of 1/8" twill tape along the seam to be absolutely sure it didn't stretch out.

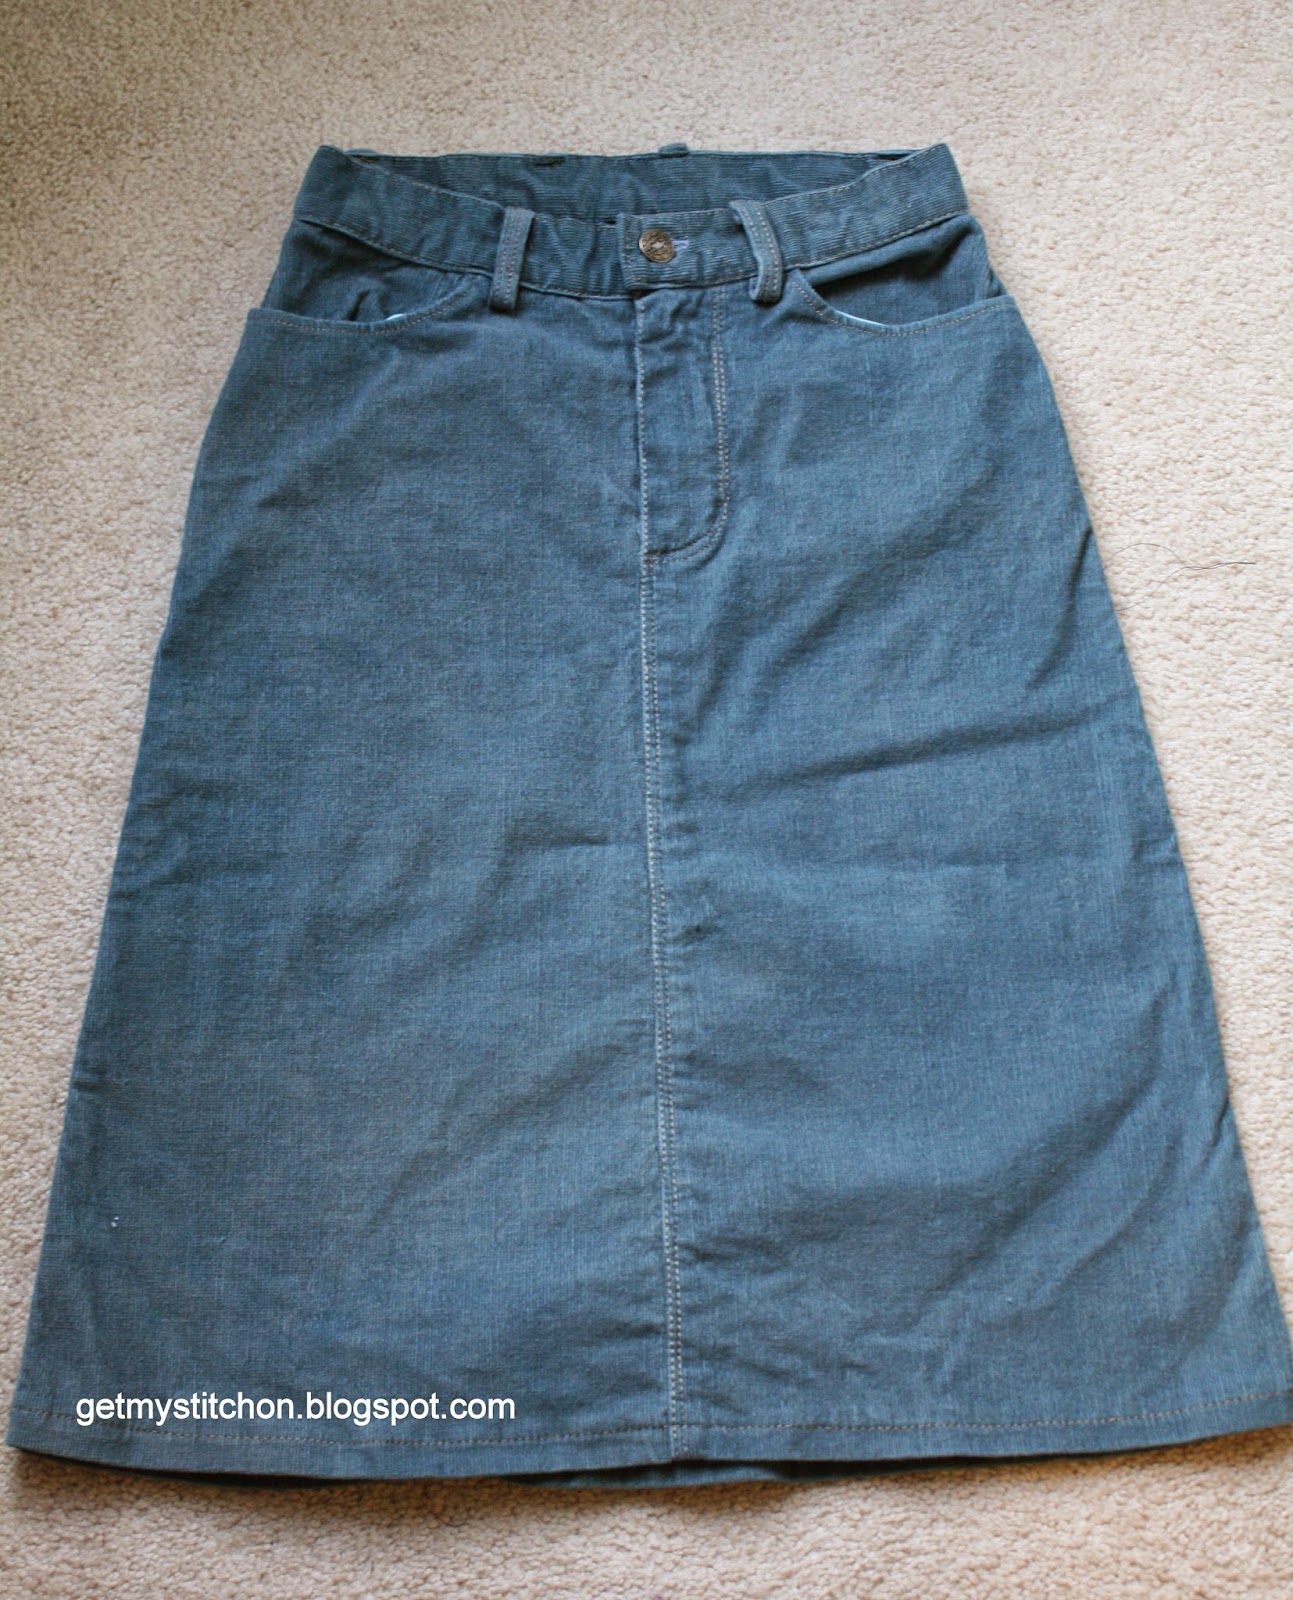
Here are the final photos:


I am once again happy to report that I have advance on to PR Sewing Bee Round #3. --It's a doozy!