Pages

Showing posts with label tutorial. Show all posts

Saturday, April 13, 2013

Those Jalie 3023 Bathing Suit Straps!!

I made another Jalie 3023 bathing suit.  This time, thanks to a suggestion in a comment on my original suit, I took some photos of the strap attachment which was the only confusing part of the whole process.  Hopefully this little walk through will shed some light on things.  One thing to remember is that the seam allowances are all 1/4" (6mm) on this pattern.

Starting at the 3rd bullet under the "Straps" Section: (I will copy the pattern instructions & show them in  italics and my notes will be normal font)
  • Pin right side of strap to wrong side of armscye as shown, matching:
    • Marks with neckline/armscye corner (my note: aka edge of bodice at top of yoke) and side seams
    • Strap center back seam with center back of tank top (mark the center back of the bodice too)
Here you can just see my little blue mark on the strap lined up wit the top of the front yoke.
Right side of strap is touching the wrong side of bodice.  
Pin like crazy and stitch.   


  •  Fold upper part of strap (unsewn above neckline) by 6mm (1/4") to wrong side and pin

Flip your seam open (the seam allowances will be toward the right side of the fabric).  
Then pin 1/4" or 6mm of the upper strap toward the wrong side as shown and pin like mad.
What you are doing is folding all of the raw edges of the strap toward the inside of the strap.

  • Fold strap wrong sides together, butting raw edges and pin


Fold the strap.  Bring the unsewn raw edge to the edge of the seam allowance (remember this is 1/4") at the bodice and to the small 1/4" (6mm) folded bit that you pinned in the previous step.  
See how all of the raw edges will find themselves safely tucked inside the finished strap? 

A closeup of the above step 


  • Fold wide part over narrow part to hide the (original strap-to-bodice) stitch, pin and topstitch with right side of tank facing up

Folded and pinned 
Seam allowance and narrow folded part are now tucked inside the strap

 Topstitched.  I used a twin stretch needle.

Pinning and adjusting the straps is pretty self explanatory, so I'll skip going through those steps.  And there you go, the tricky part is done!  I hope my photos and step-by-step helps you out!!

\
TA-Da!

Friday, February 10, 2012

Hanging Jewellery Organizer!

I have been trying to use accessories to add some flash to my wardrobe.  I love necklaces and have acquired quite a few since arriving India.  My problem now is storing them so that they don't become a tangled heap.  I started with everything in a drawer; that didn't last long.  Then I progressed to hanging necklaces on a hanger, and then in small bags on a hanger.  That method kept everything from getting tangled, but finding what I wanted was another story.  My sewing mojo has been in high gear lately, but I thought it would be a good time to take a break from clothing and switch to something more utilitarian.  Lightbulb moment! I could make a hanging jewellery organizer with zippered pockets and use up some of my dozens and dozens of 7" zippers.  I could even color coordinate the zippers with the necklaces that I will put into the pockets!  Giddiness ensues...

A few sketches later I was laying out my necklaces and zippers.  The next obvious question was "what fabric am I going to use?"  I wasn't about to go out looking for something new, but was going to use something in the stash.  My first idea was a brown suiting which is quite sturdy and wouldn't be flimsy holding up my accessories.  When I looked at the brown next to my colorful zippers...Boring. Blah. No.  What else? What else?  Ah Ha!  The butterfly print!!!  YES!!  It is home dec weight, white background with blue and orange butterflies!  Bingo!  It was heavy enough, pretty enough, and gosh darn it, I was going to use it!

So I traced my hanger onto tracing paper (called butter paper here in India for some unknown reason) and laid out my necklaces and zippers.

For this project I used:
1 yard of home decorating weight fabric
10 - 7" zippers in various colors
11" of 1" wide sew-on velcro
A tiny bit (about 6" x 12") of heavy iron on interfacing
A heavy duty hanger

Note: I used 1/2" seam allowances everywhere.  

I did some more measuring and then made the first cut.   I cut 2 strips of fabric ~9.5" wide by 29" long.  I figured that I could adjust the length as I was going.  

For the topmost piece, I cut a strip 2.5" wide.  I placed the zipper face down and sewed it on with a 1/2" seam.  Then I cut a 2nd piece 5" wide and sewed it to the other side of the same zipper.


Once the first zipper was attached, I attached the 2nd zipper to the bottom of the 5" piece.  Then sewed another 5" piece to the bottom of that zipper and so on and so on.  Like this:


I ironed everything flat and topstitched it down.  (Note: you can skip topstitching at this point because you will eventually topstitch to create separate pockets once the back is attached).  Because I topstitched at this point, I have 2 rows of stitching (I tried to overlap) visible above the zippers.  Not a big deal, but some people are pickier than me ;)

This is my 2 strips of fabric with all of the zippers sewn on:

To separate the 2 columns of zippers, I added a strip of navy blue poplin from the stash and sewed it to the edge of each column of zippers:

One side done

Both sides done
I realized afterwards that this blue piece was a little too wide for my liking so I took a big tuck down the entire length to reduce its finished width to about half of what it was.  I didn't want the finished size to be much wider than the hanger, otherwise it would hit the back of my closet wall and always hang crooked.  The finished size of this blue strip is 1.5".

Then I attached the front piece to the back piece.  I just laid everything down right sides together and sewed around 3 sides leaving the top open.
Laid out
The next step was to create separate pouches; this meant topsitching through all layers: down the center of the navy blue center strip, and above each zipper starting with the second ones down:


Ok, so now I had 10 separate pouches and needed a way to attach the organizer to my hanger.  I measured my hanger and decided on 12" for a finished size for the attachment piece:
I folded in the top edges of the organizer:
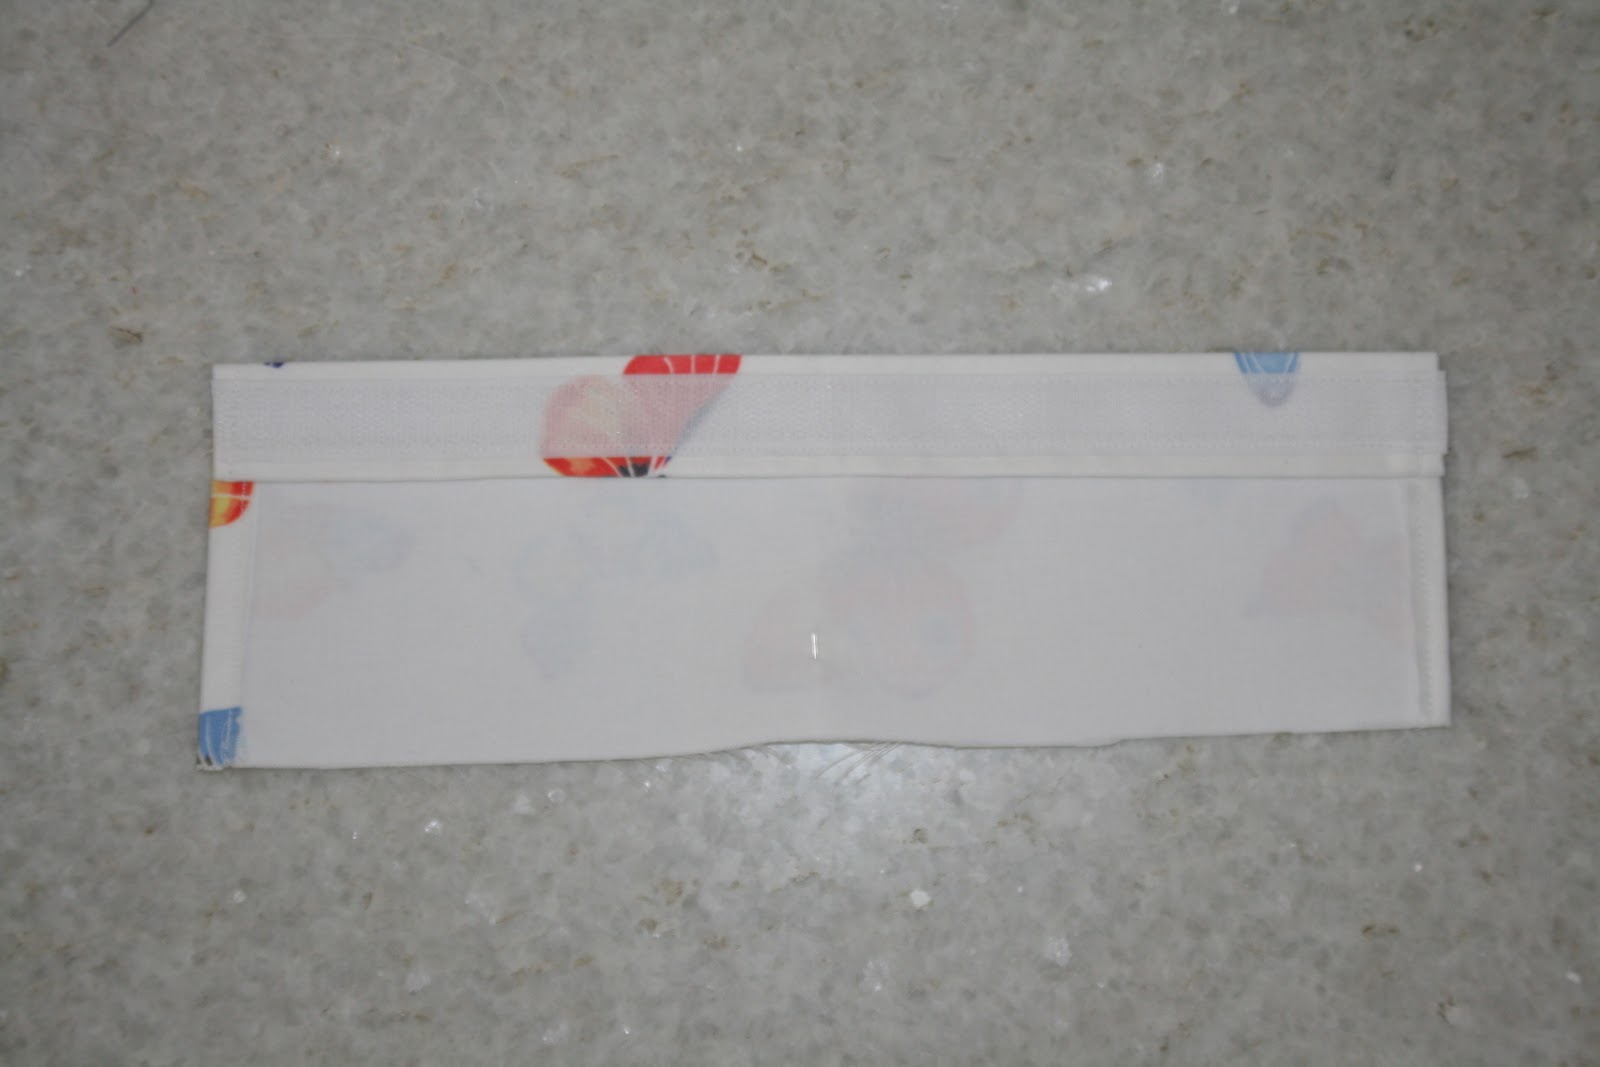
Then pinned the loop side of my velcro to the back of the organizer and stitched it to the back only.
I cut a piece of fabric about 13" long by 6" wide, and applied heavy fusible interfacing to it to give it even more stiffness.  I folded over the sides and stitched them down.  Then I folded down the top edge and sewed on the hook side of my velcro.

Then I sandwiched this hanger piece between the front and back of the organizer and sewed all the way across the top, closing it up and catching the hanger piece.  Just for fun, I did one more line of stitching across the top just to try out the "Christmas Tree" stitch on my machine (which I have never used).  


Loop the hanger piece over the hanger and press the velcro together.

Ta DA!

Finished

The top 2 zippers aren't perfectly lined up but...who cares?  :)

You will notice in the above photo that there are 2 little blue tabs hanging off the bottom.  Well...Once I was finished sewing and happy with the end product, I loaded up my necklaces and went to hang it up.  Ummm...serious mental lapse....All of the closets in my house are half-height.  I can't hang anything long (including my jewellery organizer).  All long items are hanging up on the shower rod in the extra bathroom.  Arrgh!  So I added little loops of bias tape to the bottom of my organizer so that I could fold it up and hook the loops over the hooks on the ends of my hanger.  So silly.  Oh well, I won't be in this house forever!  :)


Tuesday, January 17, 2012

Infinity Scarves

Infinity Scarves: they're fast, they're easy, they look great, and they help use up chunks of my stash.

The first one I made was this lovely satin:


and the 2nd which I made from leftover fabric from this top:

I thought I'd share how easy it is to make one of these babies:
  • Cut fabric.  I cut mine about 58"x14" or (1.5m x 35cm) Just a note: I can wrap this around my neck 3 times!
  • With wrong sides together, sew the long side
  • Reach through the tube you just made and bring the far end through the tube, careful not to twist it. (If you do twist it...its really no big deal) 
    • Line up the ends of the tube (making sure that the wrong sides are together and sew around the tube leaving a few inches open so you can turn it right side out


    • Turn right side out
    • Slip stitch opening closed.


    That's it!!


    Wednesday, December 7, 2011

    A Finished Object: Birthday Skirt for my Eldest!

    Yay!  I finished this skirt DAYS before her birthday (rather than hours!).  Hooray!  C loves twirly skirts and has a few in her wardrobe already , so I thought I'd maker her a new one for her birthday.  I had some purple polka dot cotton in my stash and knew it would be perfect to go with her assortment of purple Ts.  I decided to draft my own skirt, with each tier being 1.5x the length of the tier above.

    I wanted the skirt to be 18" long with 4 tiers.  So 18"/4= 4.5" finished tier height
    Her hip measurement was 24".

    The first tier would be 24" x 1.5 = 36" long.  Since the first tier would need a waistband, I added 2" to the height  to accommodate a waistband on the top and seam allowance on the bottom.  So Tier #1 was 4.5"+2"= 6.5" high by 36" long

    2nd tier was 36"x1.5= 54" long and 5.5" high (no need for a waistband, only seam allowances so 4.5"+1"=5.5')

    3rd tier was 54"x1.5=81" long and also 5.5" high

    4th tier was 81"x1.5= 122" long and since a bottom hem would be needed I added 2" to the finished height (so 4.5"+2"=6.5")

    I started at the top and gathered each tier and then sewed them on, until all four tiers were gathered and sewn.

    Since my fabric was slightly see-through, I added a lining whose width matched the first tier (36" wide) and made it slightly shorter than the skirt length.  I attached the lining to the skirt by sandwiching it between the fabric where I folded the waistband over.  In this way there wouldn't be extra layers of lining fabric inside the waistband.  
    I think it turned out very cute and I'm sure the birthday girl will love it!

    Related Posts Plugin for WordPress, Blogger...